This document is relevant only for the following hardware:
Once you’ve built your Mirobot you’ll be wanting to start making it draw things. Here are some tips that will help you get the best results.
Whilst you can use things like pencils and biros, Mirobot works best when you use a nice free-flowing felt-tipped pen.
Mirobot has been designed so that the tip of the pen is at the centre of the wheels. This means that when you turn and the pen is down, it will stay in the same position. However, if you haven’t adjusted the position of the pen properly you’ll end up with little loops at the corners of what you’re drawing. Here’s how to adjust the pen;
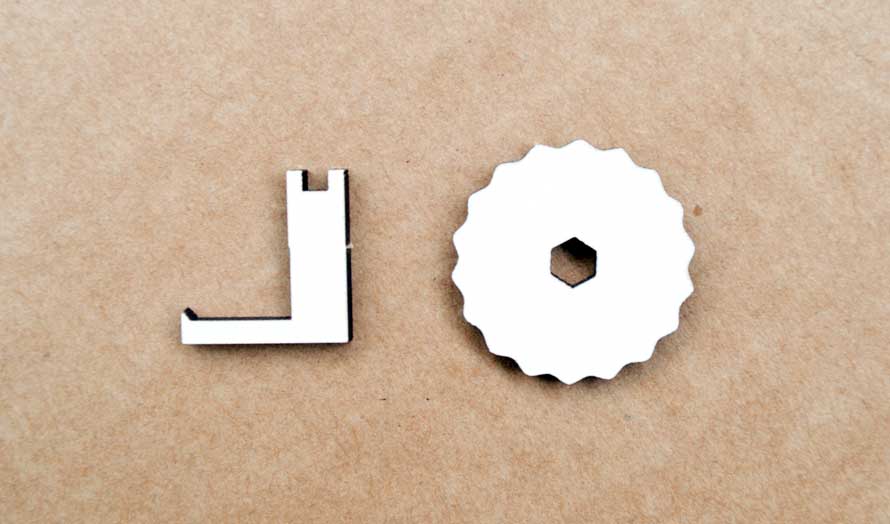
First, find the pen alignment tools that were left over when you built Mirobot. Here’s what they look like:
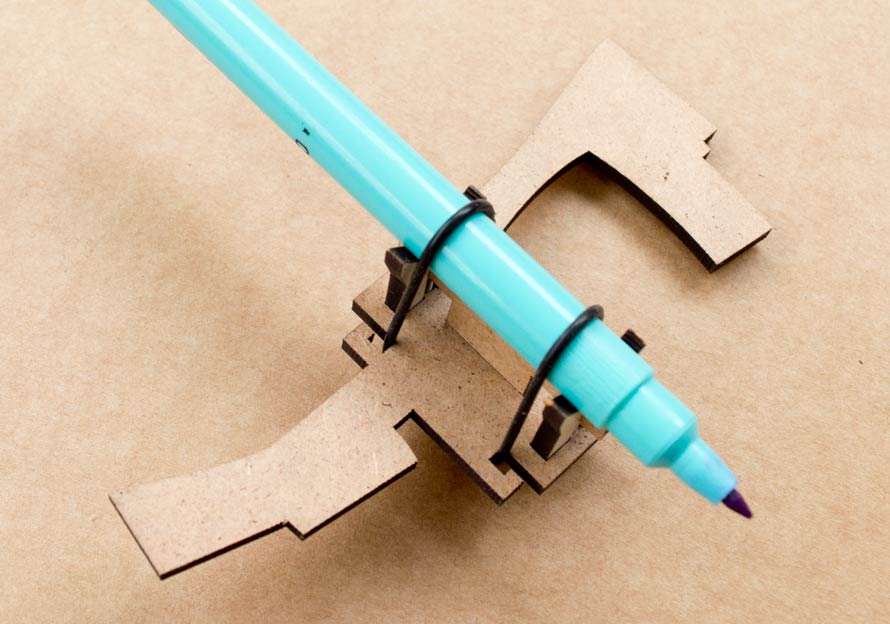
Now remove the pen arm and clip your pen into position (we’ll adjust this in a later step, just put it roughly in place)
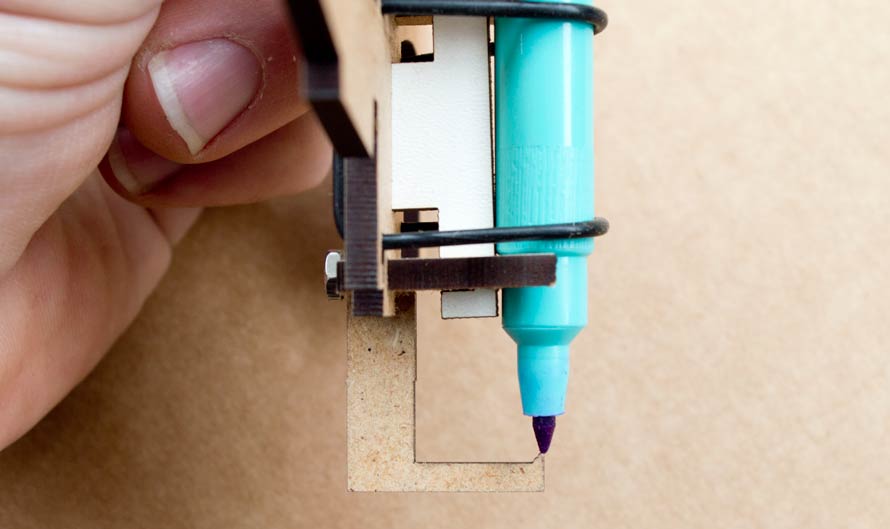
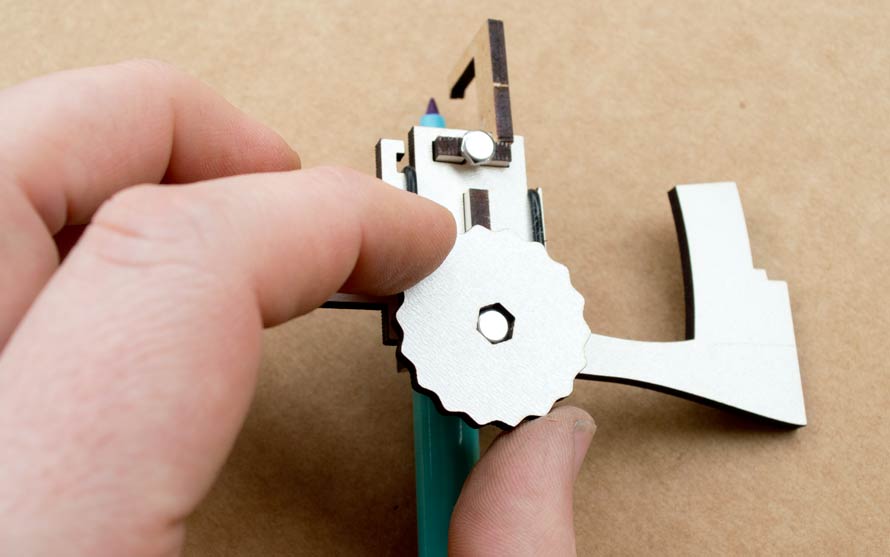
Now position the L-shaped tool as shown below and adjust the screws using the pen adjustment tool until the tip of the pen just meets the point on the L-shaped tool. You will also need to adjust its height.
Once the pen has been positioned like this it should draw nice crisp corners. So you don’t lose the pen adjustment tools, there are two little slots for them to live in jsut behind the battery holder:


